
I remember the first time I grilled corn with garlic butter—it was a hot summer evening, and the air smelled of barbecue and freshly cut grass. We had friends over, and I wanted something simple yet unforgettable. So I grabbed a few ears of corn, whipped up a quick garlic butter, and threw them on the grill. The result was better than I expected—juicy, charred, buttery corn with a garlicky punch that made everyone ask for seconds. Ever since then, it’s been my go-to recipe whenever the grill gets fired up.

You’ll absolutely love this Garlic Butter Grilled Corn for so many reasons. First of all, the flavor is unbeatable. The rich, savory butter seeps into the corn as it cooks, and the high heat brings out the natural sweetness. Plus, the little bit of char from the grill adds that irresistible smokiness we all crave during the warmer months.
This recipe is incredibly versatile. While garlic butter is a classic, you can easily switch things up by adding herbs like thyme or parsley. Want a bit of spice? Mix in a dash of chili flakes or smoked paprika. You can even crumble a bit of vegan feta over the top for a Mediterranean twist. It’s a recipe that plays well with whatever flavor mood you’re in.
What’s more, this corn dish is budget-friendly. Corn is inexpensive during the summer, and all the other ingredients are pantry staples. You don’t need any fancy tools or rare seasonings—just good-quality corn, butter, garlic, and a grill. It’s proof that you don’t have to spend much to make something impressive.
Let’s talk ingredients. The list is short but impactful. You’ll need fresh corn on the cob—look for ears with tight green husks and golden silk. You’ll also need unsalted butter, freshly minced garlic, a touch of salt, and black pepper. If you like, a squeeze of lemon at the end really brightens things up. These ingredients come together to create a dish that’s simple, satisfying, and packed with flavor.
Ready to grill? Let’s jump into the process and see how to bring this summer essential to life.
How to Make Garlic Butter Grilled Corn
Making Garlic Butter Grilled Corn is surprisingly easy. Even if you’re not a seasoned griller, this recipe is foolproof. The key is to focus on freshness and preparation. I always start by choosing the freshest corn I can find. Ideally, you want to use ears with the husks still on. These help protect the corn during grilling while locking in moisture.
Step-by-Step Instructions for Making:
Step 1: Prepare the Corn
First, gently peel back the corn husks without removing them entirely. Remove all the silk from each ear, then fold the husks back into place. This allows the corn to stay juicy while grilling. If the husks are too dry, soak the corn in water for about 10 minutes. This step prevents burning and adds extra moisture.
Step 2: Make the Garlic Butter
While the corn is soaking, I move on to the garlic butter. In a small saucepan over low heat, melt the unsalted butter. Add finely minced garlic and cook it for a few minutes until it’s fragrant but not browned. Stir in a pinch of salt and black pepper. If you’re adding herbs or chili flakes, now’s the time. Once the garlic is golden and the flavors are blended, set the mixture aside.
Step 3: Preheat the Grill
Preheat your grill to medium-high heat. Whether you use gas or charcoal, aim for steady, even heat. Clean the grates with a brush so the corn doesn’t stick. This helps you get those perfect grill marks.
Step 4: Grill the Corn
Place the soaked corn directly on the grill. Cook it for about 15 to 20 minutes, turning every 5 minutes. The husks will char on the outside, but don’t worry—that’s what you want. Inside, the corn will steam and soften while picking up the smoky flavor from the grill.
Step 5: Butter and Serve
When the corn is tender, remove it from the grill and carefully peel back or discard the husks. Use a brush or spoon to generously coat each ear with the garlic butter. Let it drip down into the kernels for maximum flavor. Serve immediately with a sprinkle of fresh herbs or a squeeze of lemon juice.
Quick and Easy:
This recipe takes less than 30 minutes from start to finish, especially if you prep the garlic butter while the grill heats up. There’s no complicated seasoning, no overnight marinating, and no long baking times. It’s a perfect last-minute side dish.
Customizable:
What I love most is how flexible this dish is. You can add a bit of vegan grated cheese for richness, mix in lime zest for a citrus twist, or even top it with a homemade herb sauce. The corn takes on flavors easily, so don’t be afraid to get creative.
Crowd-Pleasing:
Whether it’s a backyard barbecue or a simple family dinner, this grilled corn is always a hit. It pairs well with everything—from grilled beef kebabs to fresh summer salads. Because it’s finger food, kids and adults both love it. Plus, it’s vegetarian-friendly and easy to scale up for a big group.
This recipe’s combination of simplicity and bold flavor makes it one you’ll return to again and again. Now that you know how easy it is, you’ll be grilling garlic butter corn all summer long.
FAQs
Can I make this recipe without a grill?
Yes, absolutely. If you don’t have a grill, you can roast the corn in the oven. Simply preheat your oven to 200°C (about 400°F), wrap each ear in foil, and bake for 25 to 30 minutes. Then brush on the garlic butter and serve.
Can I use frozen corn instead of fresh?
While fresh corn gives the best texture and flavor, you can use frozen corn in a pinch. Make sure it’s fully thawed before grilling or roasting. However, note that it won’t develop the same charred texture.
How do I store leftovers?
If you have any leftover grilled corn, store it in an airtight container in the refrigerator for up to 3 days. Reheat it in the oven or on a grill pan for best results. Avoid microwaving, as it may dry out the corn.
Can I prepare the garlic butter in advance?
Yes. You can make the garlic butter up to 3 days ahead. Just store it in a sealed container in the fridge and reheat gently before using.
Is there a way to make it vegan?
Yes, simply use a vegan butter alternative. Many plant-based options melt well and still deliver great flavor with the garlic.
Can I leave the husks on during grilling?
Yes, grilling with the husks on protects the corn and adds a subtle roasted flavor. Just remember to soak the corn in water beforehand to prevent the husks from burning.
Can I add spices or cheese?
Definitely. Feel free to mix in chili powder, smoked paprika, or cumin into the butter. You can also sprinkle grated vegan cheese or chopped fresh herbs over the finished corn.
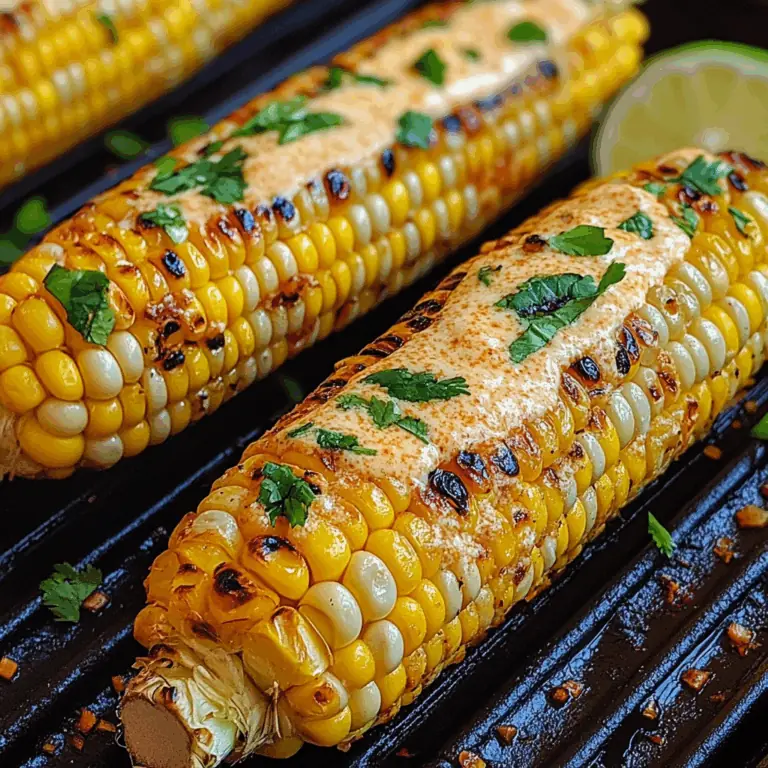
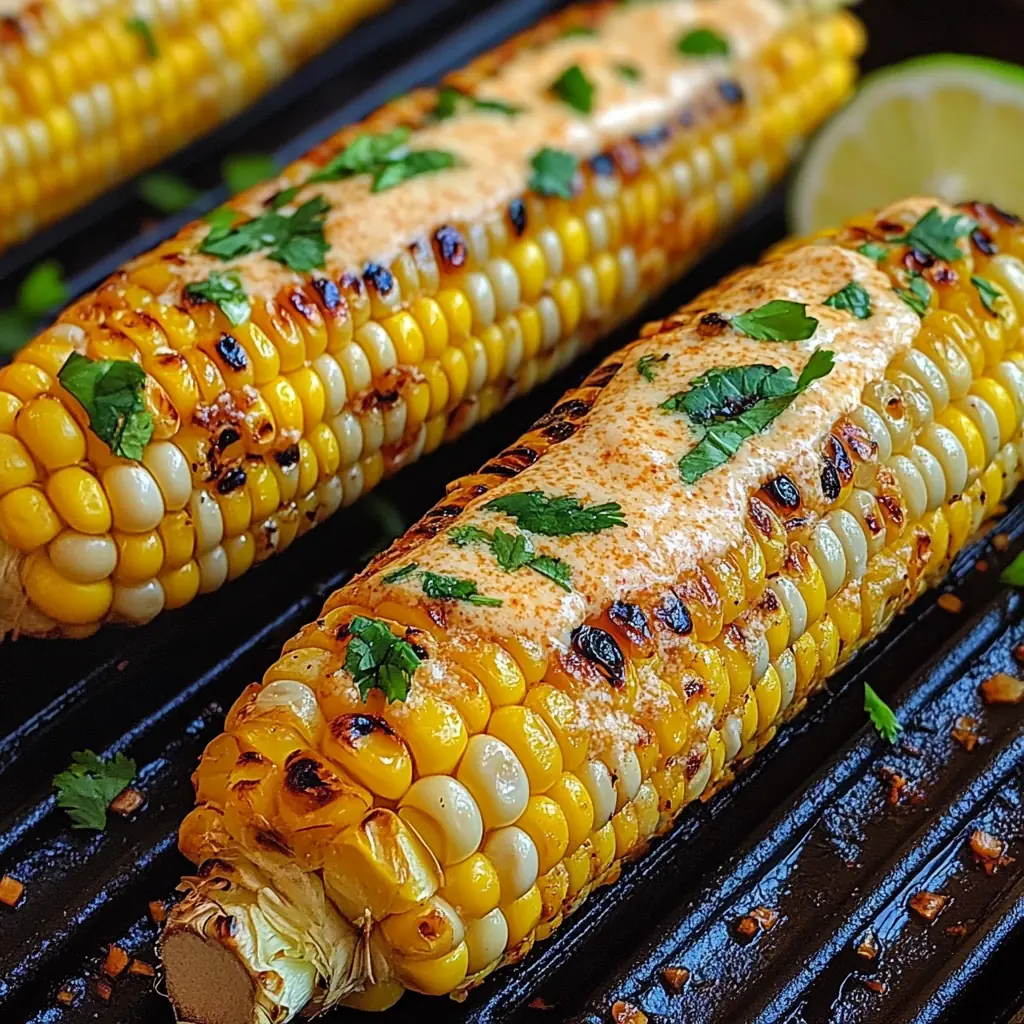
Garlic Butter Grilled Corn
Garlic Butter Grilled Corn is the perfect summer side dish—juicy, flavorful, and incredibly easy to prepare. This recipe enhances the sweetness of fresh corn with a rich garlic butter blend and adds a smoky, grilled finish. Ideal for barbecues, picnics, or everyday dinners.
- Total Time: 30 minutes
- Yield: 4 servings 1x
Ingredients
4 ears of fresh corn, with husks
4 tablespoons unsalted butter
2 cloves garlic, minced
Salt, to taste
Black pepper, to taste
Optional: chopped herbs (parsley or thyme), lemon wedges
Instructions
-
Gently pull back the husks from each corn cob without removing them. Remove all silk strands. Fold the husks back over the corn.
-
Soak the prepared corn in water for 10 minutes to prevent burning during grilling.
-
In a small saucepan over low heat, melt the butter. Add minced garlic and cook until fragrant but not browned. Stir in salt and black pepper. Optional: add herbs or chili flakes. Set aside.
-
Preheat the grill to medium-high. Clean the grates.
-
Place the soaked corn (with husks) on the grill. Grill for 15–20 minutes, turning every 5 minutes, until the kernels are tender and slightly charred.
-
Remove from the grill, carefully peel back or discard husks.
-
Brush the grilled corn generously with garlic butter. Serve immediately with optional herbs or lemon juice.
Notes
-
For a vegan version, use vegan butter.
-
Add flavor variations with chili powder, cumin, or smoked paprika.
-
Oven-roasting alternative: Wrap prepared corn in foil and bake at 200°C (400°F) for 25–30 minutes.
- Prep Time: 10 minutes
- Cook Time: 20 minutes