
I still remember the first time I made this Pineapple Strawberry Slushie—it was a hot afternoon, and I needed something fun, fruity, and ice-cold to cool me down. I opened my freezer, saw a bag of frozen pineapple and strawberries, and thought, “Why not layer the two?” That little idea turned into a delicious, colorful treat that everyone at home now asks for every summer. Whether it’s just me unwinding after a long day or the kids wanting something sweet, this slushie never fails.
Why You’ll Love This Recipe
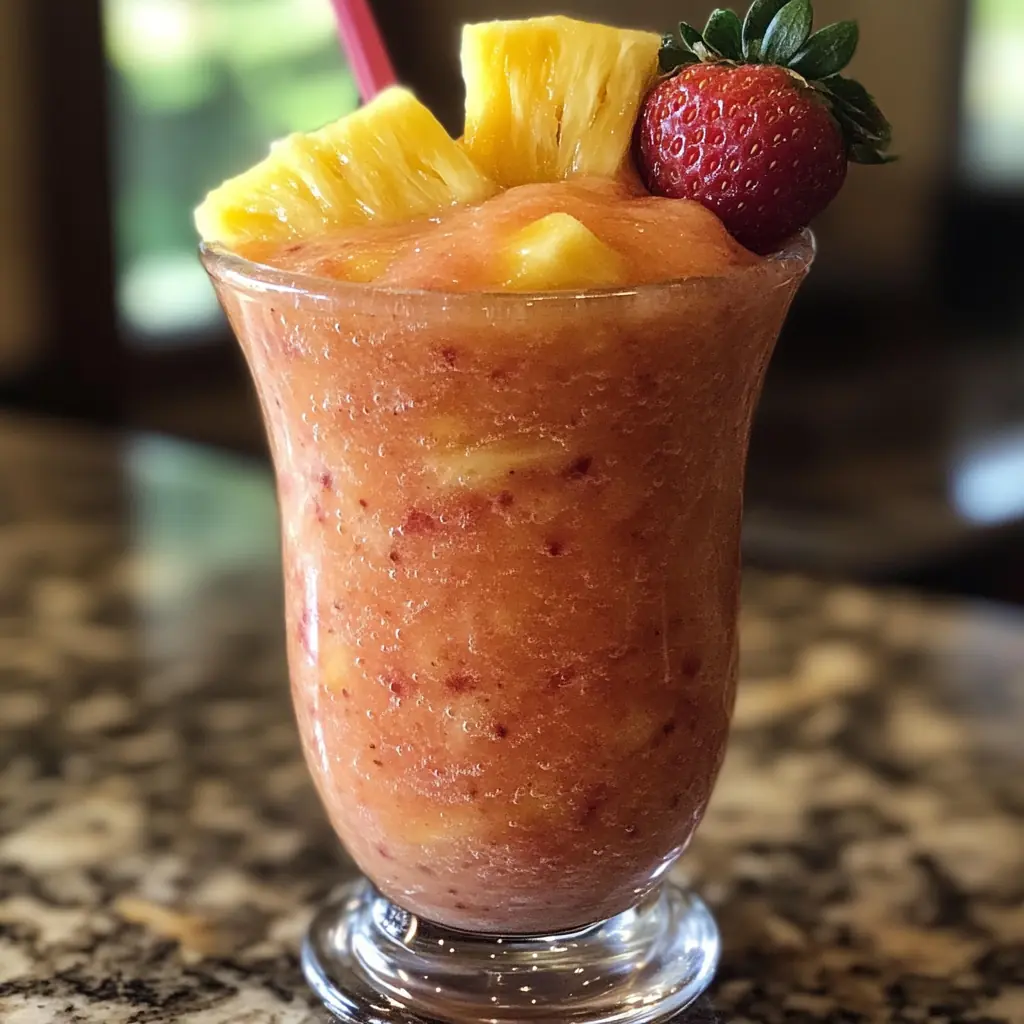
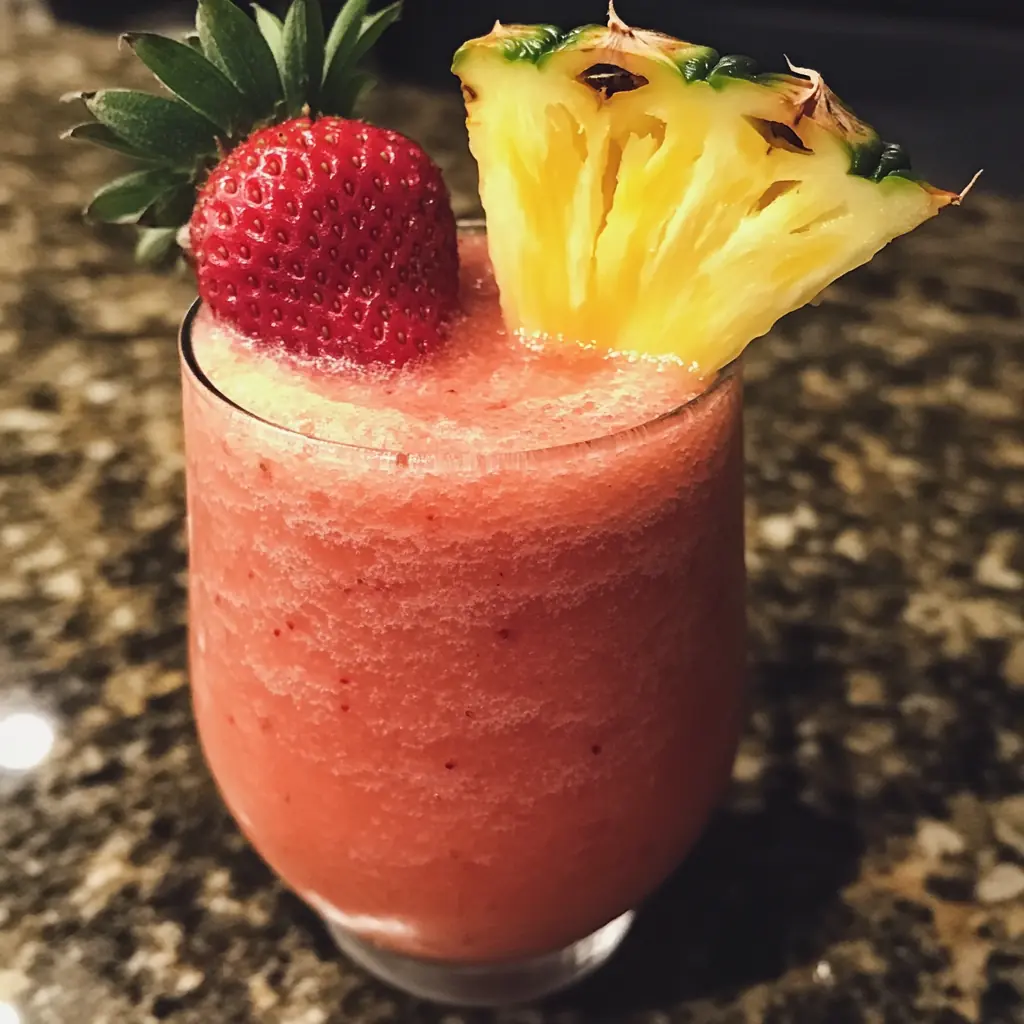
It’s not just a drink—it’s an experience. The tropical pineapple layer blends beautifully with the rich strawberry base. What I love most is how it tastes as good as it looks, with vibrant colors and textures you can swirl together or enjoy separately.
Versatile
This slushie is perfect for everyone. You can keep it light with water, make it creamy with a touch of coconut milk, or brighten it with a bit of lime juice. Want a grown-up twist? Add alcohol-free vanilla extract or keep it kid-friendly—your choice.
Budget-Friendly
Everything comes straight from the freezer and pantry—no need to hunt for fancy ingredients. It’s a great way to use up frozen fruit while keeping the cost low. You can even use leftover juice or water without changing the delicious result.
Ingredients for the Recipe
For the Pineapple Layer:
-
2 cups frozen pineapple chunks
-
1/2 cup pineapple juice (or water for a lighter version)
-
1 tablespoon honey or agave syrup (optional)
For the Strawberry Layer:
-
2 cups frozen strawberries
-
1/2 cup strawberry juice (or water as a substitute)
-
1 tablespoon honey or agave syrup (optional)
Optional Add-Ins:
-
1/4 cup coconut milk for a creamy texture
-
1 teaspoon lime juice for added zing
-
1 teaspoon Vanilla Extract (Alcohol-Free) for depth of flavor
When I serve this chilled and colorful drink to guests or family, they always ask for the recipe. That’s why I love it—it’s easy, it’s vibrant, and it brings smiles every single time.
How to Make This Recipe
When I first tried making layered slushies, I thought it might be tricky to get them just right. But honestly, once I figured out the basic steps, it became one of the easiest and most fun drinks to whip up—especially when the weather is hot and everyone’s craving something cold and fruity. The best part? This Pineapple Strawberry Slushie comes together in just minutes, and the layering effect makes it look way more impressive than the effort it takes.
Step-by-Step Instructions for Making
1. Start with the Pineapple Layer
To begin, I take 2 cups of frozen pineapple chunks and place them directly into my blender. I usually add 1/2 cup of pineapple juice, but water works just as well if I want a lighter version. If I’m in the mood for something sweeter, I include a tablespoon of honey or agave syrup, but that part is totally optional.
Then I blend everything until it reaches a thick, smooth slushie consistency. If it seems a little too thick or isn’t blending easily, I just add a splash more liquid until it runs smoothly but still holds that icy texture. Once blended, I pour it into a separate container and set it aside.
2. Prepare the Strawberry Layer
Next, I rinse the blender quickly and add 2 cups of frozen strawberries. I pour in 1/2 cup of strawberry juice—or sometimes just water if I want a fresher, lighter taste. Again, a tablespoon of honey or agave can be added for extra sweetness, but most of the time, I find the strawberries sweet enough on their own.
At this point, I sometimes mix in a little coconut milk for creaminess or a teaspoon of lime juice for brightness. Both are optional, but they add great flavor contrast and depth.
I blend the mixture until it’s smooth and slushy, adjusting the liquid just like before to get the perfect consistency.
3. Time to Layer and Serve
Once both layers are ready, I grab clear glasses—it’s important to use something see-through so you can see the beautiful contrast. I start by spooning or pouring in a layer of the pineapple slush, then follow with a strawberry layer. Depending on how creative I feel, I repeat the layers or stop at two for a clean look.
Sometimes I swirl a straw gently through the drink to create a marbled effect—it gives a fun visual twist without fully mixing the flavors. It’s a small step that makes a big impact when serving.
Quick and Easy
Honestly, it doesn’t get much easier than this. There’s no cooking involved, and everything happens in the blender. Even cleanup is quick—just rinse the blender between layers and you’re good to go.
Customizable
You can swap out the fruit with others like mango or raspberry. You can use coconut water instead of juice, or even add vegan gelatin cubes for texture. Each time you make it, it can be slightly different depending on your mood and what you have at home.
Crowd-Pleasing
Whether I’m making this for a family picnic, an afternoon with friends, or just a quiet moment for myself, this slushie always hits the spot. Kids love the bright layers and natural sweetness, while adults can appreciate how refreshing and satisfying it is—even without any added sugars or fancy ingredients.
It’s a drink that looks impressive, feels special, and yet takes almost no effort at all. And that’s why it has become one of my favorite summer go-tos.
FAQs
Can I use fresh fruit instead of frozen?
Yes, you can, but you’ll need to add ice to achieve the slushie texture. Frozen fruit is ideal because it gives that thick, icy consistency without watering down the flavor.
Is this recipe suitable for kids?
Absolutely. Just leave out the optional Vanilla Extract (Alcohol-Free) or any ingredients meant to mimic an adult version. The natural fruit sweetness makes it perfect for children.
What can I use instead of pineapple or strawberries?
You can easily replace pineapple with mango or peaches and swap strawberries with raspberries or cherries. Use whatever frozen fruits you have on hand.
How do I keep the layers from blending together?
Make sure each layer is thick enough before pouring. Let the first layer settle briefly before adding the next. Pour slowly and carefully for clean lines.
Can I make it ahead of time?
This slushie is best served immediately, but you can blend the layers in advance and store them in the freezer separately. Just re-blend each portion quickly before layering and serving.
What’s a good alternative to honey or agave?
You can use maple syrup or leave out the sweetener altogether if the fruit is already sweet. Taste the mix before deciding.
How can I add creaminess without coconut milk?
Try a bit of almond milk or oat milk. Both give a soft texture while keeping the drink dairy-free and light.
Is this recipe allergy-friendly?
It can be! There are no nuts or dairy in the base recipe, and it’s easy to adapt for different needs. Just check your juice ingredients if you use store-bought options.
Does it work without juice?
Yes, water works well too. The flavor will be lighter, but the texture and chill will stay the same. You can also blend fruit alone if it’s juicy enough.

Pineapple Strawberry Slushie
This Pineapple Strawberry Slushie is a refreshing and colorful drink made with frozen pineapple and strawberries. Perfect for hot summer days, it’s naturally sweet, easy to customize, and loved by both kids and adults. Whether served at parties or enjoyed solo, its vibrant layers and icy texture make it a standout beverage.
- Total Time: 10 minutes
- Yield: 2–4 servings 1x
Ingredients
For the Pineapple Layer:
-
2 cups frozen pineapple chunks
-
1/2 cup pineapple juice (or water)
-
1 tablespoon honey or agave syrup (optional)
For the Strawberry Layer:
-
2 cups frozen strawberries
-
1/2 cup strawberry juice (or water)
-
1 tablespoon honey or agave syrup (optional)
Optional Add-Ins:
-
1/4 cup coconut milk (for creaminess)
-
1 teaspoon lime juice (for brightness)
-
1 teaspoon Vanilla Extract (Alcohol-Free)
Instructions
Step 1: Blend the Pineapple Layer
Add frozen pineapple chunks, pineapple juice (or water), and sweetener (if using) into a blender. Blend until the mixture becomes thick and slushy. If the blend is too thick, add a small amount of extra liquid to adjust the consistency. Once ready, pour the pineapple mixture into a container and set it aside.
Step 2: Blend the Strawberry Layer
Rinse the blender. Add frozen strawberries, strawberry juice (or water), and sweetener (if using). For added flavor, include optional coconut milk or lime juice. Blend until smooth and thick. Add a splash of extra liquid if necessary to achieve the desired texture.
Step 3: Assemble and Serve
In clear glasses, alternate layers of pineapple and strawberry slush. For a marbled effect, use a spoon or straw to gently swirl the layers. Serve immediately with a straw or spoon.
Notes
-
Use frozen fruits for best texture.
-
For a lighter version, use water instead of juice.
-
Customize sweetness based on fruit ripeness.
-
Optional add-ins enhance flavor but are not required.
-
This recipe contains no dairy or alcohol.
-
Serve immediately for the best consistency.
- Prep Time: 10 minutes