
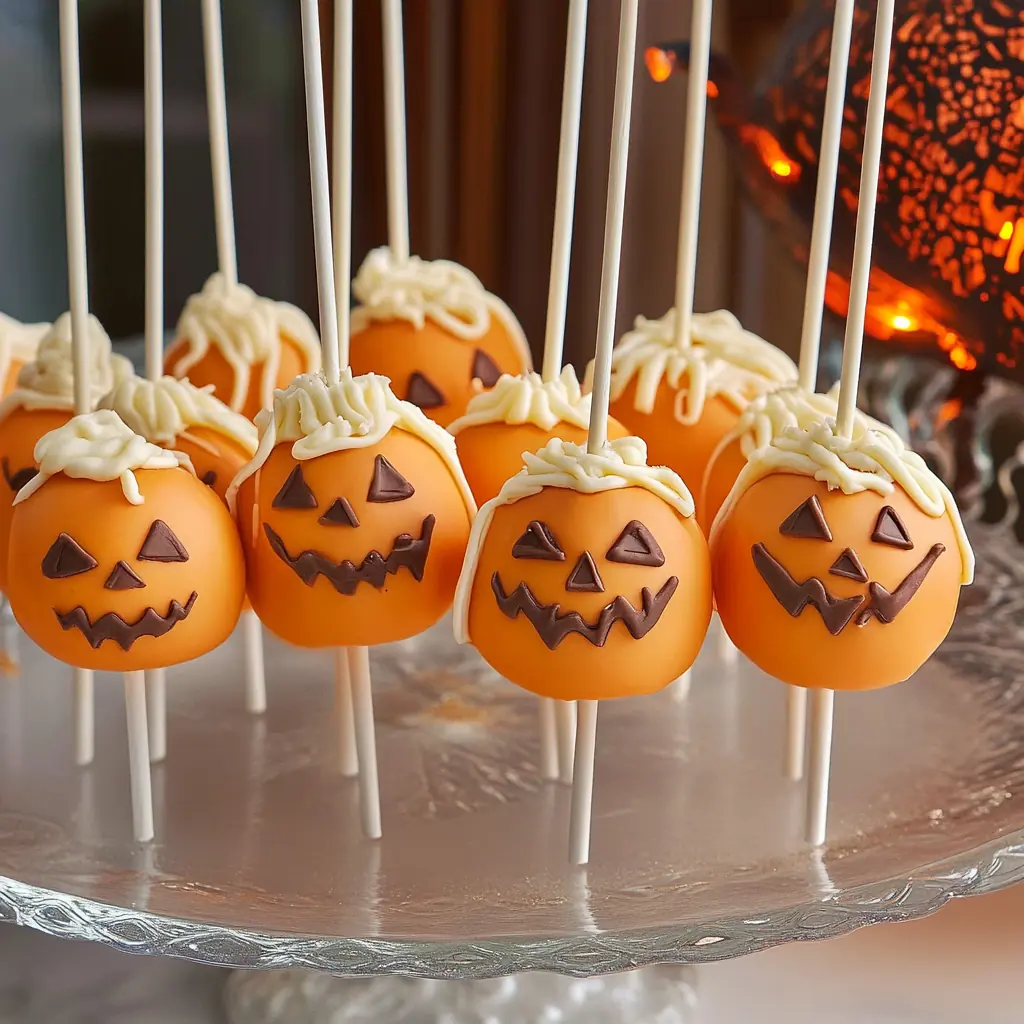
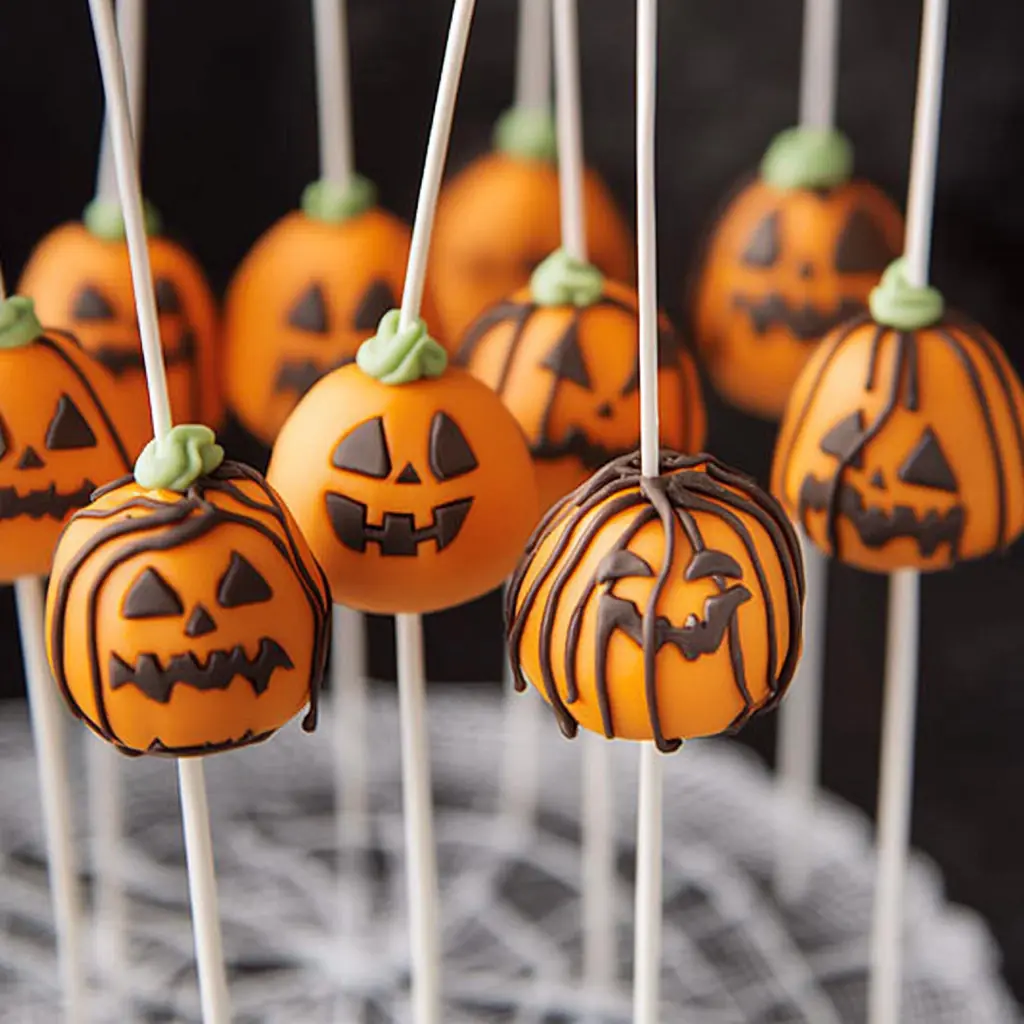
When Halloween rolls around, I always find myself drawn to creating fun and spooky treats that bring smiles to both kids and adults. One of my favorites to make is my Halloween Cake Pops. These little bites of joy are not just adorable but also incredibly delicious. I remember the first time I made them — I had the whole kitchen covered in sprinkles, candy eyes, and melted chocolate! The fun part about these pops is how easily they can be turned into little edible characters like pumpkins, mummies, or even Frankenstein himself. Each year, they’ve become a tradition at my Halloween parties, and guests always ask for them.
What I love most about these cake pops is how simple yet impressive they look. They’re soft, moist, and perfectly sweet, making them a delightful treat for any spooky celebration. The combination of cake and frosting rolled into small, bite-sized balls creates a rich and creamy texture that melts in your mouth. Plus, decorating them gives everyone a chance to be creative. Whether you’re a beginner or a pro in the kitchen, this recipe never fails to please.
Why You’ll Love This Recipe
You’ll love these Halloween Cake Pops because they’re fun to make and even more fun to eat. They bring festive charm to your dessert table, and everyone loves grabbing one. The best part? You can mix and match decorations to suit any theme — from cute pumpkins to eerie mummies.
Versatile
This recipe is incredibly versatile. You can use either vanilla or chocolate cake, or even red velvet if you want a bloody Halloween twist. Feel free to experiment with different frostings or candy coatings too. You can also get creative with shapes — round pops, ghosts, or even monster heads!
Budget-Friendly
Halloween treats don’t have to be expensive, and this recipe proves it. Most of the ingredients are pantry staples, and the decorations can be adjusted based on your budget. A few simple items like candy eyes, sprinkles, and colorful melts go a long way.
Ingredients for Halloween Cake Pops
-
1 box of your favorite cake mix
-
1 (3.4 oz) box instant pudding mix
-
4 eggs
-
1 cup water
-
1/3 cup vegetable oil
-
1 cup frosting
-
Candy melts (various colors)
-
Toppings such as sprinkles, candy eyes, and other fun Halloween decorations
How to Make Halloween Cake Pops
When I start making these Halloween Cake Pops, my kitchen instantly transforms into a little workshop of colors, flavors, and fun. The best part is that even though they look fancy, they’re actually easy to make. You don’t need any special tools — just patience, a bit of creativity, and a love for sweet treats. Here’s how I make them step by step, ensuring every cake pop turns out perfectly smooth, flavorful, and ready to impress your guests.
Step-by-Step Instructions for Making
First, I preheat my oven to 350°F and spray my 13×9 inch baking pan with vegetable oil. This prevents the cake from sticking and makes cleanup easier later. In a large mixing bowl, I combine the cake mix, instant pudding mix, eggs, water, and oil. I beat everything at medium speed for about two minutes until the batter becomes smooth and creamy. Then, I pour it into the prepared pan and bake for 30 to 40 minutes. To check if it’s ready, I insert a toothpick into the center — if it comes out clean, it’s done.
Once the cake is baked, I let it cool for around ten minutes. Cooling is essential because it prevents the frosting from melting later. When the cake has cooled slightly, I crumble it completely in a large bowl using my hands. Sometimes, I use two forks if it’s still warm. The goal is to have fine, even crumbs with no large pieces left. After that, I add the frosting. This is where the texture becomes magical. I mix everything with my hands until the crumbs hold together like dough.
Now comes the shaping. I roll the mixture into small, even balls about the size of a walnut. For consistent results, I use a small ice cream scoop. Once shaped, I place the cake balls on a tray lined with parchment paper and chill them in the refrigerator for at least two hours. Chilling helps them firm up and makes dipping easier.
Quick and Easy
To melt the candy coating, I use candy melts in different colors — orange for pumpkins, green for Frankenstein, and white for mummies. I melt them in the microwave in 30-second intervals at 50% power, stirring each time until smooth. Then, I dip each cake pop stick about half an inch into the melted candy and insert it into a chilled cake ball. This helps secure the stick. I freeze the pops for 20 minutes until the coating hardens.
Once the sticks are set, I dip each pop completely into the melted candy, letting the excess drip off. While the coating is still soft, I quickly decorate them. I add candy eyes for monsters, wrap lines of white coating for mummies, and draw pumpkin faces using edible markers. The creativity here is endless, and that’s what makes this step so enjoyable.
Customizable
You can easily customize these pops for any theme or taste. If you want a chocolate base, use chocolate cake mix and chocolate frosting. For a lighter flavor, go with vanilla or lemon cake. Candy melts come in many colors, so you can adapt the design for any holiday — green and red for Christmas or pastels for Easter.
Crowd-Pleasing
These Halloween Cake Pops never fail to impress. They’re bite-sized, easy to serve, and perfect for parties, school events, or even as edible gifts. Kids love decorating them, and adults enjoy how nostalgic and creative they feel. They’re festive, delicious, and guaranteed to be the highlight of your dessert table. Whether you make ten or fifty, they disappear fast — which, in my opinion, is always the best compliment a baker can get.
FAQs
Can I make Halloween Cake Pops ahead of time?
Yes, absolutely. You can prepare the cake balls up to two days in advance and store them in the refrigerator. When ready to serve, simply dip and decorate them fresh. This helps save time on the day of your party.Can I freeze cake pops?
Yes, cake pops freeze beautifully. Once the coating has hardened completely, place them in an airtight container and freeze for up to six weeks. When you’re ready to enjoy them, let them thaw in the refrigerator for several hours before serving.What kind of frosting works best?
A creamy buttercream or store-bought vanilla frosting works perfectly. Avoid frostings that are too runny, as they can make the mixture too soft and difficult to shape into balls.My cake pops keep falling off the sticks — what should I do?
If your cake pops fall off the sticks, it usually means they’re too warm or the coating isn’t thick enough. Chill the cake balls longer before dipping, and make sure the candy coating is not too hot when inserting the sticks.Can I use homemade cake instead of boxed mix?
Of course! A homemade cake works just as well. Just make sure it’s soft and moist. The goal is to crumble it evenly, so a light and fluffy texture is ideal for mixing with frosting.How can I decorate them differently?
You can use colored candy melts, edible markers, or even drizzle different coatings to create variety. Try adding crushed cookies, mini chocolate chips, or sugar pearls for unique looks. For Halloween, I like to make half of them pumpkins, a few as mummies, and some as green monsters — they look fantastic together.Do I need to refrigerate the finished cake pops?
If the room is warm, yes. Store them in a cool, dry place or refrigerate them to keep the coating firm. However, let them rest at room temperature for about 10 minutes before serving for the best texture.Can I use different cake flavors?
Definitely. Chocolate, vanilla, and red velvet are popular choices, but you can try funfetti or even lemon for a bright twist. Mixing flavors makes every bite exciting and adds variety to your dessert spread.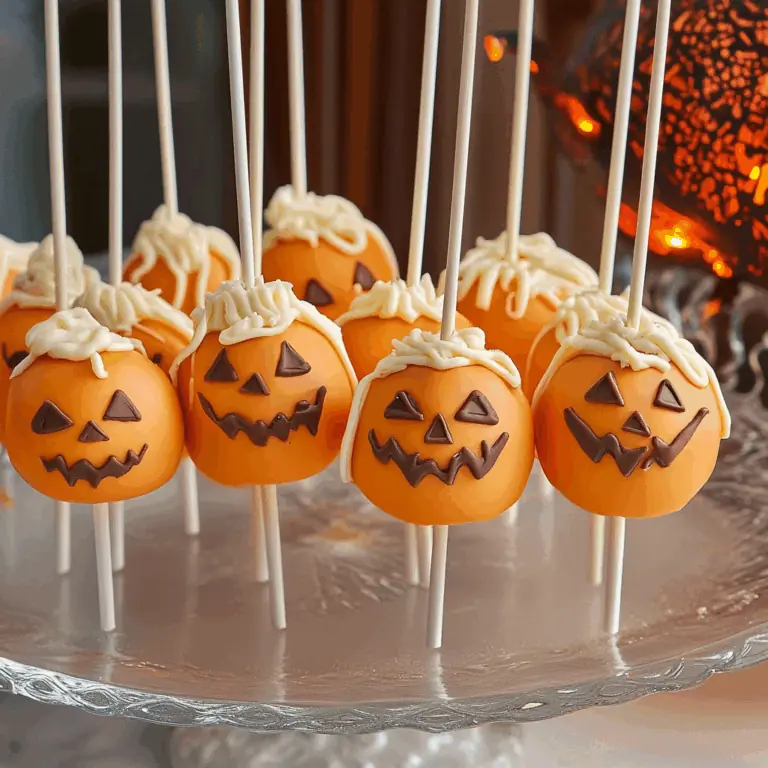
Halloween Cake Pops
These Halloween Cake Pops are the perfect bite-sized treats for your spooky celebrations. Soft cake and creamy frosting come together in colorful candy coatings shaped like pumpkins, mummies, and Frankensteins. They’re fun to make, easy to decorate, and guaranteed to be the highlight of any Halloween party.
- Total Time: 2 hours
- Yield: About 24 cake pops 1x
Ingredients
Scale-
1 box favorite cake mix
-
1 (3.4 oz) box instant pudding mix
-
4 eggs
-
1 cup water
-
1/3 cup vegetable oil
-
1 cup frosting
-
Candy melts (orange, green, white)
-
Toppings: sprinkles, candy eyes, and edible decorations
Instructions
-
Preheat oven to 350°F and spray a 13×9 pan with vegetable oil.
-
In a large bowl, combine cake mix, pudding mix, eggs, water, and oil. Beat at medium speed for 2 minutes.
-
Pour batter into the prepared pan and bake for 30–40 minutes or until a toothpick inserted in the center comes out clean.
-
Cool the cake in the pan for 10 minutes, then crumble it completely in a large bowl.
-
Add frosting and mix well until the mixture becomes dough-like.
-
Shape into small balls and place them on a parchment-lined tray.
-
Chill for at least 2 hours to firm up.
-
Melt candy melts in 30-second intervals in the microwave (50% power), stirring after each interval until smooth.
-
Dip each stick tip into the melted candy and insert into a cake ball. Freeze for 20 minutes until firm.
-
Dip each cake pop completely in melted candy, letting the excess drip off.
-
Decorate with sprinkles, candy eyes, or drizzle extra candy melt for a mummy effect.
-
Let them set completely before serving.
Notes
You can prepare the cake balls a day in advance and decorate them later. Store finished pops in an airtight container. If you use different colors of candy melts, label the sticks for easy serving. Avoid using frosting that’s too thin, as it can make shaping difficult.
- Prep Time: 30 minutes
- Cook Time: 35 minutes