
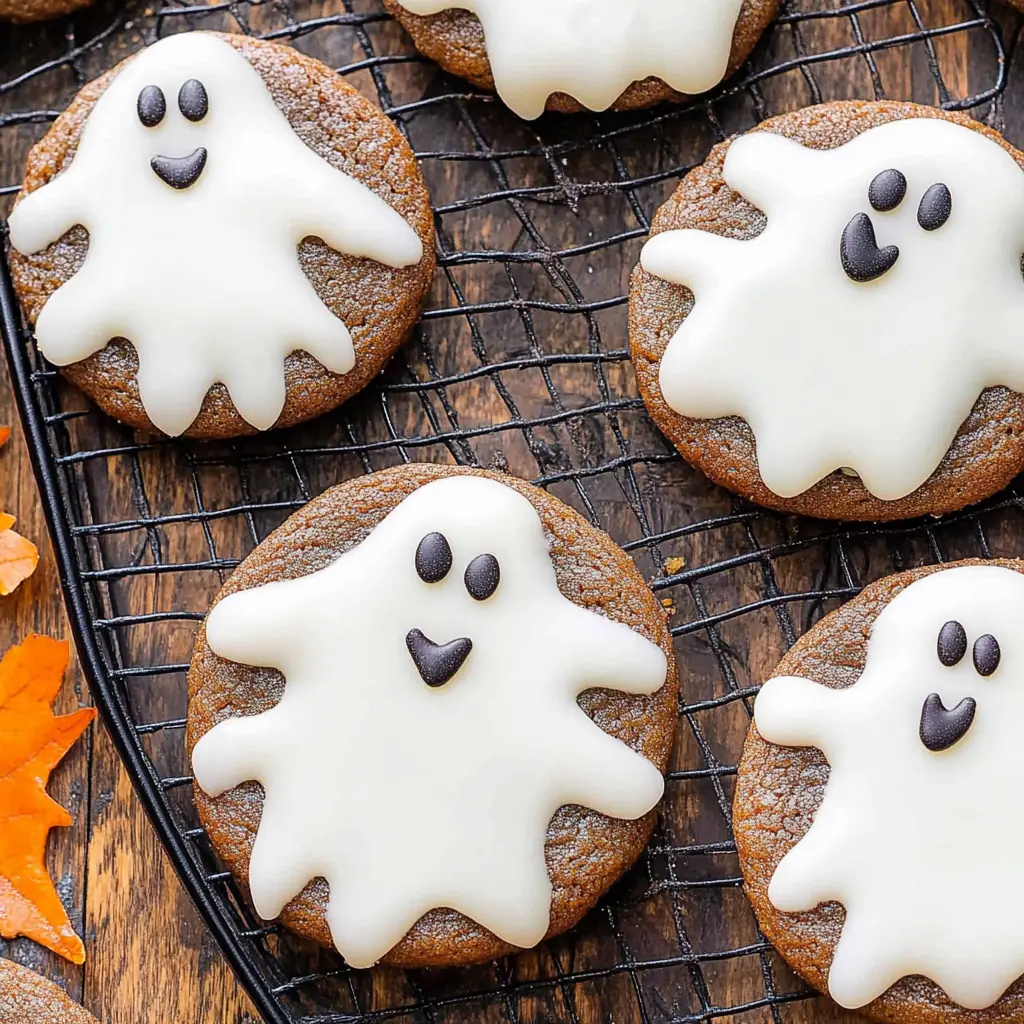
When I first made these Ghost Cookies, it was for a small Halloween gathering with friends. I wanted something fun, simple, and a little bit spooky — but without spending hours in the kitchen. The moment I placed them on the table, everyone’s eyes lit up. These adorable little ghosts, perched on top of cookies with gooey marshmallow bodies, became the stars of the evening. Every bite was soft, sweet, and filled with playful Halloween magic.
What I love most about these cookies is how they blend simplicity with creativity. You don’t need to be a pastry chef to make them look amazing. With just a few ingredients and a bit of imagination, you can bring these spooky treats to life. The kids will absolutely love helping out too — it’s the perfect activity for a fun Halloween afternoon.
Why You’ll Love This Recipe
Versatile:
These Ghost Cookies fit any celebration beyond Halloween. You can adapt the decoration for other holidays too. Add red hearts for Valentine’s Day ghosts or pastel sprinkles for Easter — the base recipe stays the same, but the theme changes easily.
Budget-Friendly:
This recipe uses only a few simple ingredients — icing sugar, marshmallows, cookies, and black icing. Most of them might already be in your pantry. There’s no need for fancy tools or expensive baking items, which makes these cookies both affordable and stress-free to prepare.
Fun and Kid-Friendly:
Children enjoy dipping marshmallows, spreading icing, and drawing little ghost faces. It’s messy fun, but in the best way possible. The process is so easy that even beginners or young bakers can join in confidently.
Perfect for Parties:
If you’re hosting a Halloween party, these cookies will be a hit on the dessert table. They’re cute, portable, and don’t crumble easily. You can also package them in clear bags with ribbons for a creative homemade treat giveaway.
Ingredients for Ghost Cookies
-
175 g icing sugar
-
1 x 200 g pack chocolate chunk cookies
-
9 regular-sized marshmallows
-
black writing icing
That’s it — only four ingredients for one of the most charming and easy Halloween bakes you’ll ever make. Whether you’re preparing them for guests or just for fun, these ghostly cookies bring both sweetness and smiles to your kitchen.
How to Make Ghost Cookies
When I start making Ghost Cookies, I always set everything out first — it makes the process smoother and more enjoyable. Since this recipe is all about creativity, preparation is key. The whole process takes less than half an hour, and it’s honestly one of the easiest festive desserts I’ve ever made.
Step-by-Step Instructions for Making
-
Prepare the Icing:
Begin by placing the icing sugar in a medium bowl. Add a few teaspoons of water and stir until you get a smooth, thick consistency. The icing should be pourable but not too thin. If it runs off the spoon too quickly, add a little more icing sugar to thicken it. -
Set Up the Cookies:
Lay out all your chocolate chunk cookies on a flat surface or baking tray. These will be the base for your ghosts, so make sure they’re sturdy enough to hold the marshmallow topping. You can use homemade cookies if you prefer, but store-bought ones work just as well. -
Add the Marshmallows:
Take one regular-sized marshmallow and place it on top of each cookie. You can slightly flatten them with your fingers to help them stay in place. This step creates the ghostly “body,” giving each cookie its adorable, spooky shape. -
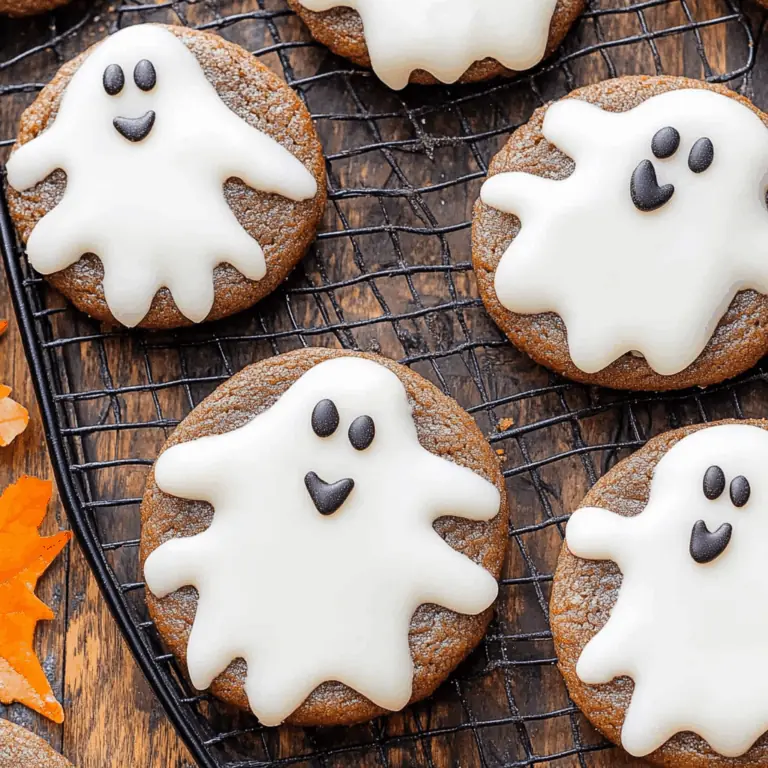
Coat with Icing:
Using a spoon, gently pour the prepared icing over each marshmallow, letting it drip down the sides. Don’t worry about perfection — the uneven drips actually make the ghosts look more realistic and fun. Make sure the icing fully covers the marshmallow and spreads slightly onto the cookie surface. -
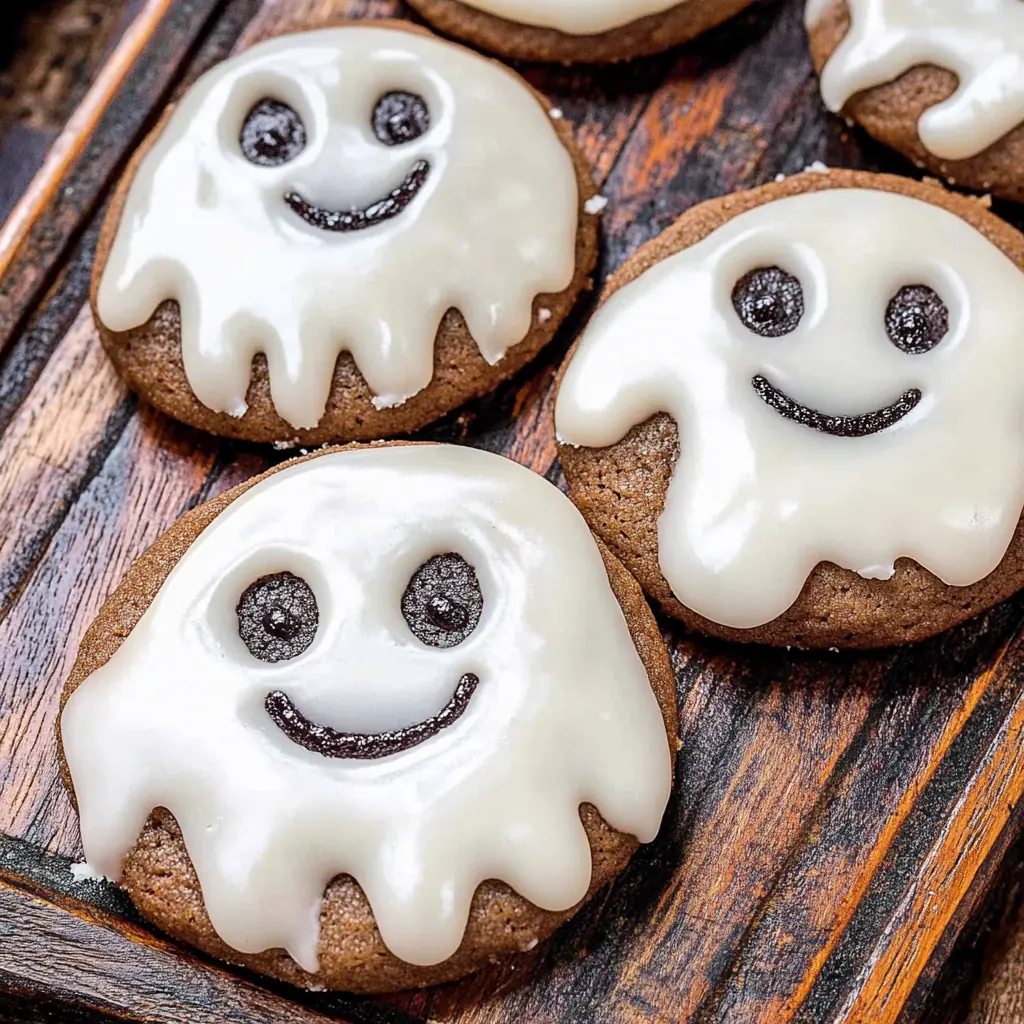
Draw the Faces:
Once the icing is almost dry but still a little soft, use black writing icing to draw the ghost faces. A few dots for the eyes and an oval for the mouth are enough to bring your ghost to life. Feel free to get creative — you can make happy, surprised, or even sleepy ghosts! -
Set and Serve:
Leave the cookies to set completely at room temperature. The icing will harden, creating a firm shell that holds everything together. Once dry, your Ghost Cookies are ready to serve.
Quick and Easy
The whole process takes just 25 minutes, from start to finish. There’s no baking involved since you’re using pre-made cookies. It’s the perfect last-minute treat for Halloween when you want something festive without much effort.
Customizable
You can customize your ghosts by using colored icing instead of plain white. Try orange, green, or purple for a fun twist. If you want to add more detail, sprinkle edible glitter or draw tiny accessories like hats or bows with different icing colors.
Crowd-Pleasing
These cookies never fail to impress. Kids love the playful design, and adults appreciate the nostalgia of marshmallows and cookies combined. Whether you serve them at a party or package them as gifts, everyone will want to know how you made these cute edible ghosts. They’re proof that even the simplest ideas can turn into memorable moments when made with creativity and heart.
FAQs
1. Can I use homemade cookies instead of store-bought ones?
Yes, absolutely. You can bake your own cookies if you want a more personal touch. Just make sure they’re thick enough to hold the marshmallow and icing without breaking.
2. What kind of icing sugar works best?
Use regular powdered icing sugar. It mixes easily with water and gives a smooth, glossy finish that sets nicely on the marshmallows.
3. How can I make the icing thicker or thinner?
To thicken, add a bit more icing sugar. To thin it, stir in a few drops of water. The goal is a smooth icing that flows slowly when poured.
4. How long do Ghost Cookies last?
They’re best enjoyed the same day, but you can store them in an airtight container at room temperature for up to two days. Avoid the fridge — humidity can make the icing sticky.
5. Can I make these cookies vegan?
Yes, you can replace regular marshmallows with vegan marshmallows and use vegan icing sugar. The result will still be just as cute and delicious.
6. Is there an alternative to black writing icing?
You can use melted dark chocolate or edible black food coloring gel. Just use a fine-tipped piping bag for precision.
7. Can kids help make Ghost Cookies?
Definitely! This recipe is perfect for children because it’s simple and safe — no oven, no sharp tools. They’ll love decorating the faces and creating their own ghost characters.
8. Why does my icing run off too much?
That usually means it’s too thin. Add more icing sugar, a tablespoon at a time, until it coats the marshmallow evenly without dripping too much.
9. Can I add flavors to the icing?
Yes, you can mix in a drop of Vanilla Extract (Alcohol-Free) for extra flavor. It gives a subtle sweetness without changing the color or texture.
10. What’s the best way to package them for gifting?
Let them dry completely, then wrap each cookie in clear plastic with a ribbon. This keeps them fresh and prevents smudging — perfect for Halloween goodie bags or party favors.
Ghost cookies
These Ghost Cookies are the ultimate Halloween treat — fun, easy, and irresistibly cute. Made with just cookies, marshmallows, and icing, they’re perfect for kids and adults alike. You don’t need any special tools or baking experience. Each cookie becomes a sweet little ghost, making them ideal for parties or creative family baking moments.
- Total Time: 25 minutes
- Yield: 9 cookies 1x
Ingredients
-
175 g icing sugar
-
1 x 200 g pack chocolate chunk cookies
-
9 regular-sized marshmallows
-
black writing icing
Instructions
-
Mix icing sugar with a few teaspoons of water in a bowl until smooth and thick.
-
Place cookies on a tray as the base.
-
Set one marshmallow on top of each cookie and gently press it down.
-
Spoon icing over each marshmallow, letting it drip slightly over the cookie.
-
Allow icing to settle and form ghostly drips.
-
Once partly dry, draw ghost faces with black writing icing.
-
Let cookies rest until the icing sets completely.
-
Serve immediately or store in an airtight container for up to two days.
Notes
-
If icing becomes too runny, add more icing sugar.
-
For a fun twist, use colored icing or add edible glitter.
-
Vegan versions can be made with vegan marshmallows and icing sugar.
-
Use Vanilla Extract (Alcohol-Free) to flavor the icing if desired.
- Prep Time: 25 minutes