
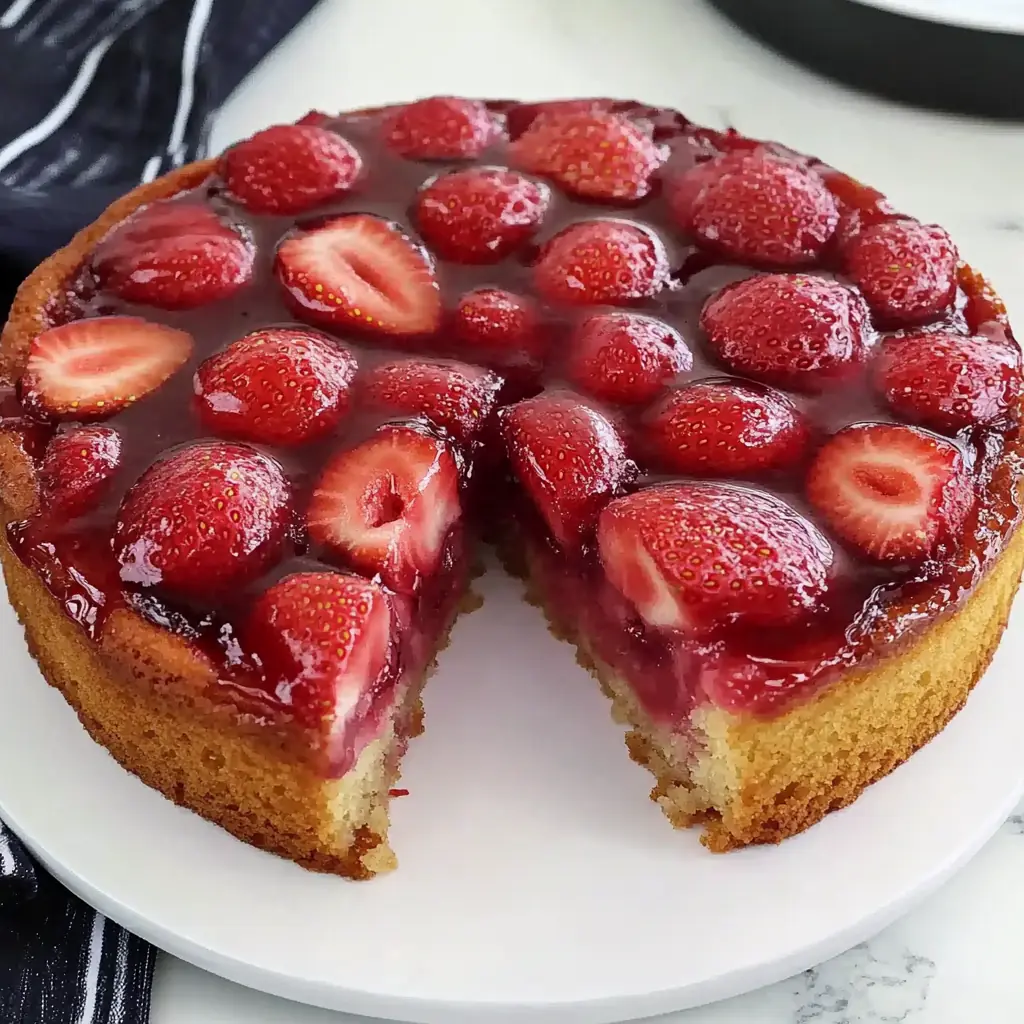
When I think of summer, this cake comes to mind
I still remember the scent of strawberries and butter wafting through the house when my mom made this. She always said this cake was the best way to use up strawberries that were getting a bit too soft. As a kid, I would wait anxiously by the oven just for that perfect flip—when the warm, sticky strawberry topping would reveal itself, glistening like a ruby crown on top of soft, fluffy cake.
Now, I make it the same way in my own kitchen. The tradition lives on, and each slice brings back memories of sunny afternoons and family laughter. But what makes this cake more than just a trip down memory lane is how adaptable and foolproof it is.
Why You’ll Love This Recipe
Nostalgic and Satisfying
This cake delivers rich flavor and an old-fashioned feel that everyone loves. It’s cozy, it’s homey, and it’s bursting with fresh strawberry sweetness.
Versatile
No strawberries? Try it with sliced peaches or pineapple. Out of buttermilk? You can mix milk with a bit of lemon juice. The base is flexible and friendly to substitutions.
Budget-Friendly
The ingredients are simple, and you probably already have most of them at home. Even when strawberries are in season, this cake costs very little to make.
Ingredients for the Recipe
For the Cake Batter:
-
½ cup white sugar
-
2 large eggs
-
3 tbsp melted butter
-
1 tsp Vanilla Extract (Alcohol-Free)
-
¾ cup buttermilk
-
1½ cups self-rising flour
For the Topping:
-
4 cups sliced strawberries
-
4 tbsp melted butter
-
⅓ cup granulated sugar
How to Make This Recipe
Making this Strawberry Upside Down Cake is easier than you’d think. With a few simple steps and fresh ingredients, you can create a dessert that’s both stunning and comforting. Let’s walk through it step by step so you can get the best results, even if it’s your first time baking it.
Step-by-Step Instructions for Making
Step 1: Prepare the Pan and the Strawberries
First, preheat your oven to 350°F (175°C). Then, grab a 9-inch round cake pan. Pour 4 tablespoons of melted butter into the bottom.
Spread it out evenly using a brush or spoon. Sprinkle 1/3 cup granulated sugar over the butter.
Now layer the 4 cups of sliced strawberries over the sugar.
Make sure to place them in a single layer so they cook evenly and don’t overlap too much.Step 2: Mix the Wet Ingredients
In a medium bowl, whisk together 2 large eggs and ½ cup white sugar until the mixture becomes light and creamy.
Then add 3 tablespoons of melted butter and 1 teaspoon of Vanilla Extract (Alcohol-Free).
Continue whisking until everything is smooth and well combined.Step 3: Add Buttermilk
Slowly pour in ¾ cup of buttermilk.
Mix gently to blend it into the wet mixture.
This keeps the batter soft and tender.Step 4: Add the Dry Ingredients
Gradually add 1½ cups of self-rising flour into the wet mix.
Stir gently until the batter is smooth and lump-free.
Do not overmix it, or the cake may turn out dense.Step 5: Pour Batter Over Strawberries
Once your batter is ready, carefully pour it over the layered strawberries in the pan.
Use a spatula to spread the batter evenly across the top.
Make sure it covers all the strawberries so that they cook into the base properly.Step 6: Bake the Cake
Place the cake pan in the center rack of your oven and bake for about 50 minutes.
To check if it’s done, insert a toothpick into the center—if it comes out clean, your cake is ready.
Once baked, remove the pan and let it cool for 10 minutes only.Step 7: Flip the Cake
Now comes the fun part!
Run a butter knife along the edges to loosen the cake.
Place a large serving plate over the top of the pan.
Carefully flip it upside down, then lift the pan off slowly.
The strawberry topping should now be on top, glossy and beautiful.Quick and Easy
This recipe comes together fast.
With just 15 minutes of prep and no fancy techniques, it’s perfect for anyone—even new bakers.
The strawberries and butter do most of the work for you.Customizable
Feel free to adjust based on what you have.
You can swap strawberries for blueberries, raspberries, or even sliced apples.
For extra flavor, add a pinch of cinnamon or lemon zest to the batter.
Gluten-free flour also works if it includes a rising agent.Crowd-Pleasing
Bring this cake to any family dinner, summer picnic, or tea time, and you’ll see it disappear in minutes.
Everyone loves the tender texture and bright flavor.
It looks impressive but tastes like home.FAQs
Can I use frozen strawberries instead of fresh?
Yes, you can use frozen strawberries, but be sure to thaw and drain them first. This helps avoid excess moisture in the topping.What can I use if I don’t have self-rising flour?
If you don’t have self-rising flour, mix 1½ cups all-purpose flour with 2¼ teaspoons baking powder and ¼ teaspoon salt as a substitute.Can I make this cake ahead of time?
Absolutely. You can bake it a day in advance. Just store it covered at room temperature. For best texture, reheat slightly before serving.Is there a dairy-free option for buttermilk?
Yes. Combine ¾ cup of almond milk (or other non-dairy milk) with 1 tablespoon of lemon juice. Let it sit for 5 minutes before using.Why did my topping stick to the pan?
It’s likely the pan wasn’t greased enough, or the cake cooled too long before flipping. Always flip after 10 minutes of cooling for best results.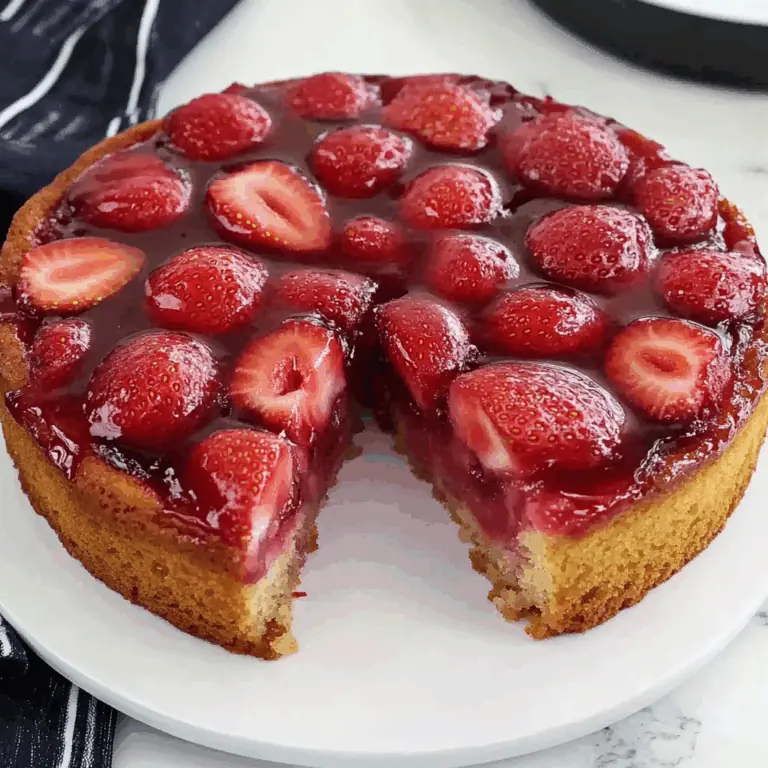
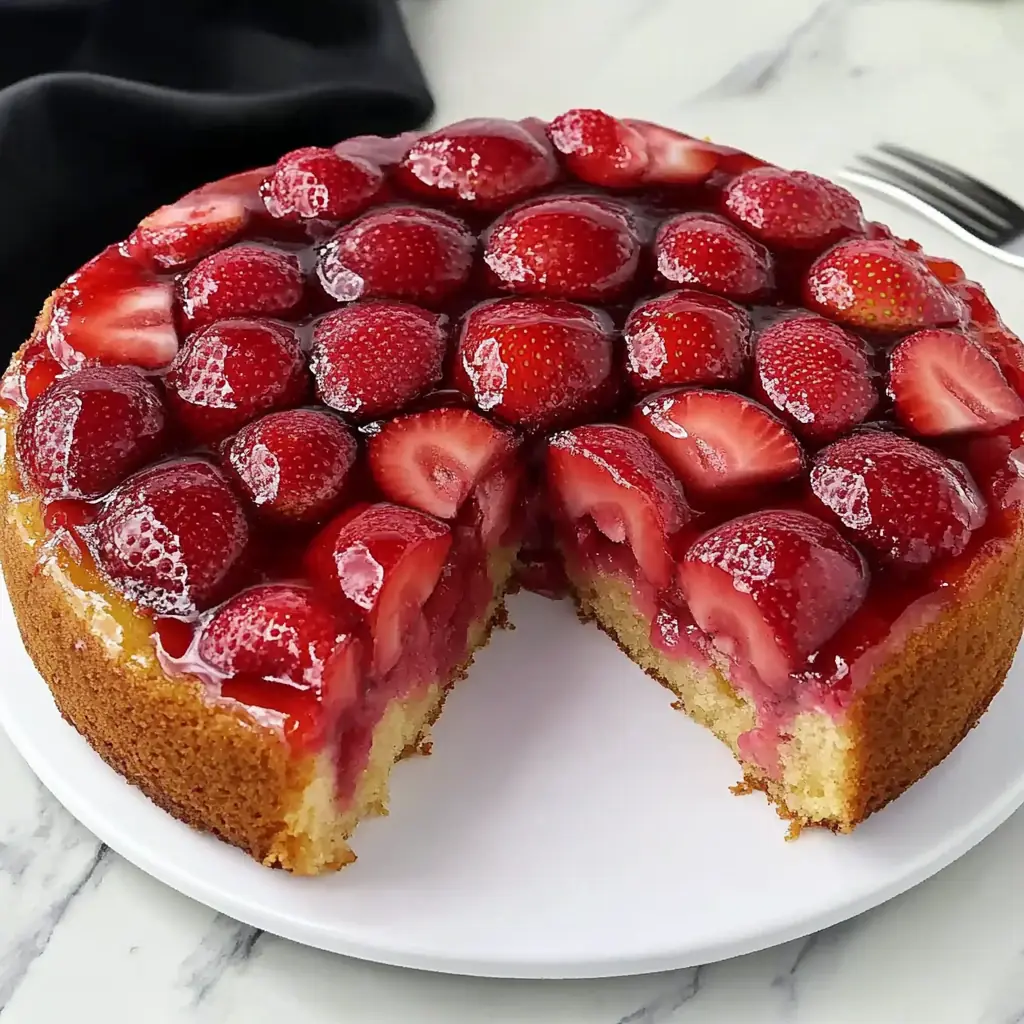
Traditional Strawberry Upside Down Cake – theamazingfood
This Traditional Strawberry Upside Down Cake is a summer favorite straight from my childhood. Made with juicy strawberries and a soft vanilla-scented cake, it flips into a stunning dessert that’s as nostalgic as it is delicious.
- Total Time: 65 minutes
- Yield: 4 servings 1x
Ingredients
ScaleFor the Topping:
-
4 cups sliced strawberries
-
4 tbsp melted butter
-
⅓ cup granulated sugar
For the Cake Batter:
-
½ cup white sugar
-
2 large eggs
-
3 tbsp melted butter
-
1 tsp Vanilla Extract (Alcohol-Free)
-
¾ cup buttermilk
-
1½ cups self-rising flour
Instructions
-
Preheat oven to 350°F (175°C).
-
Pour 4 tbsp melted butter into the bottom of a 9-inch round cake pan.
-
Sprinkle ⅓ cup granulated sugar evenly over the butter.
-
Layer 4 cups sliced strawberries on top in a single layer.
-
In a medium bowl, whisk together 2 eggs and ½ cup white sugar until light.
-
Add 3 tbsp melted butter and 1 tsp Vanilla Extract (Alcohol-Free); whisk until smooth.
-
Pour in ¾ cup buttermilk and stir gently.
-
Add 1½ cups self-rising flour gradually; stir until smooth, without overmixing.
-
Pour batter evenly over the strawberry layer in the cake pan.
-
Bake for 50 minutes, or until a toothpick inserted comes out clean.
-
Let cool for 10 minutes only, then run a knife around the edge.
-
Place a plate over the pan and carefully flip the cake onto it.
-
Remove the pan gently and serve warm or at room temperature.
Notes
-
You may substitute other fruits like peaches or blueberries.
-
For dairy-free buttermilk, use plant milk plus lemon juice.
-
Flip the cake after exactly 10 minutes of cooling to avoid sticking.
-
Do not refrigerate before serving, or the topping may firm up too much.
- Prep Time: 15 minutes
- Cook Time: 50 minutes